I promised yesterday that I’d be back with a 2nd card using Excellent Eggs bundle. Well, just before midnight, I’m posting this Easter card!
Again, this card features the new Excellent Eggs bundle. Sorry about the photo quality – I took the picture at work with some not-so-great for pictures lights. Oh well! You get the picture!
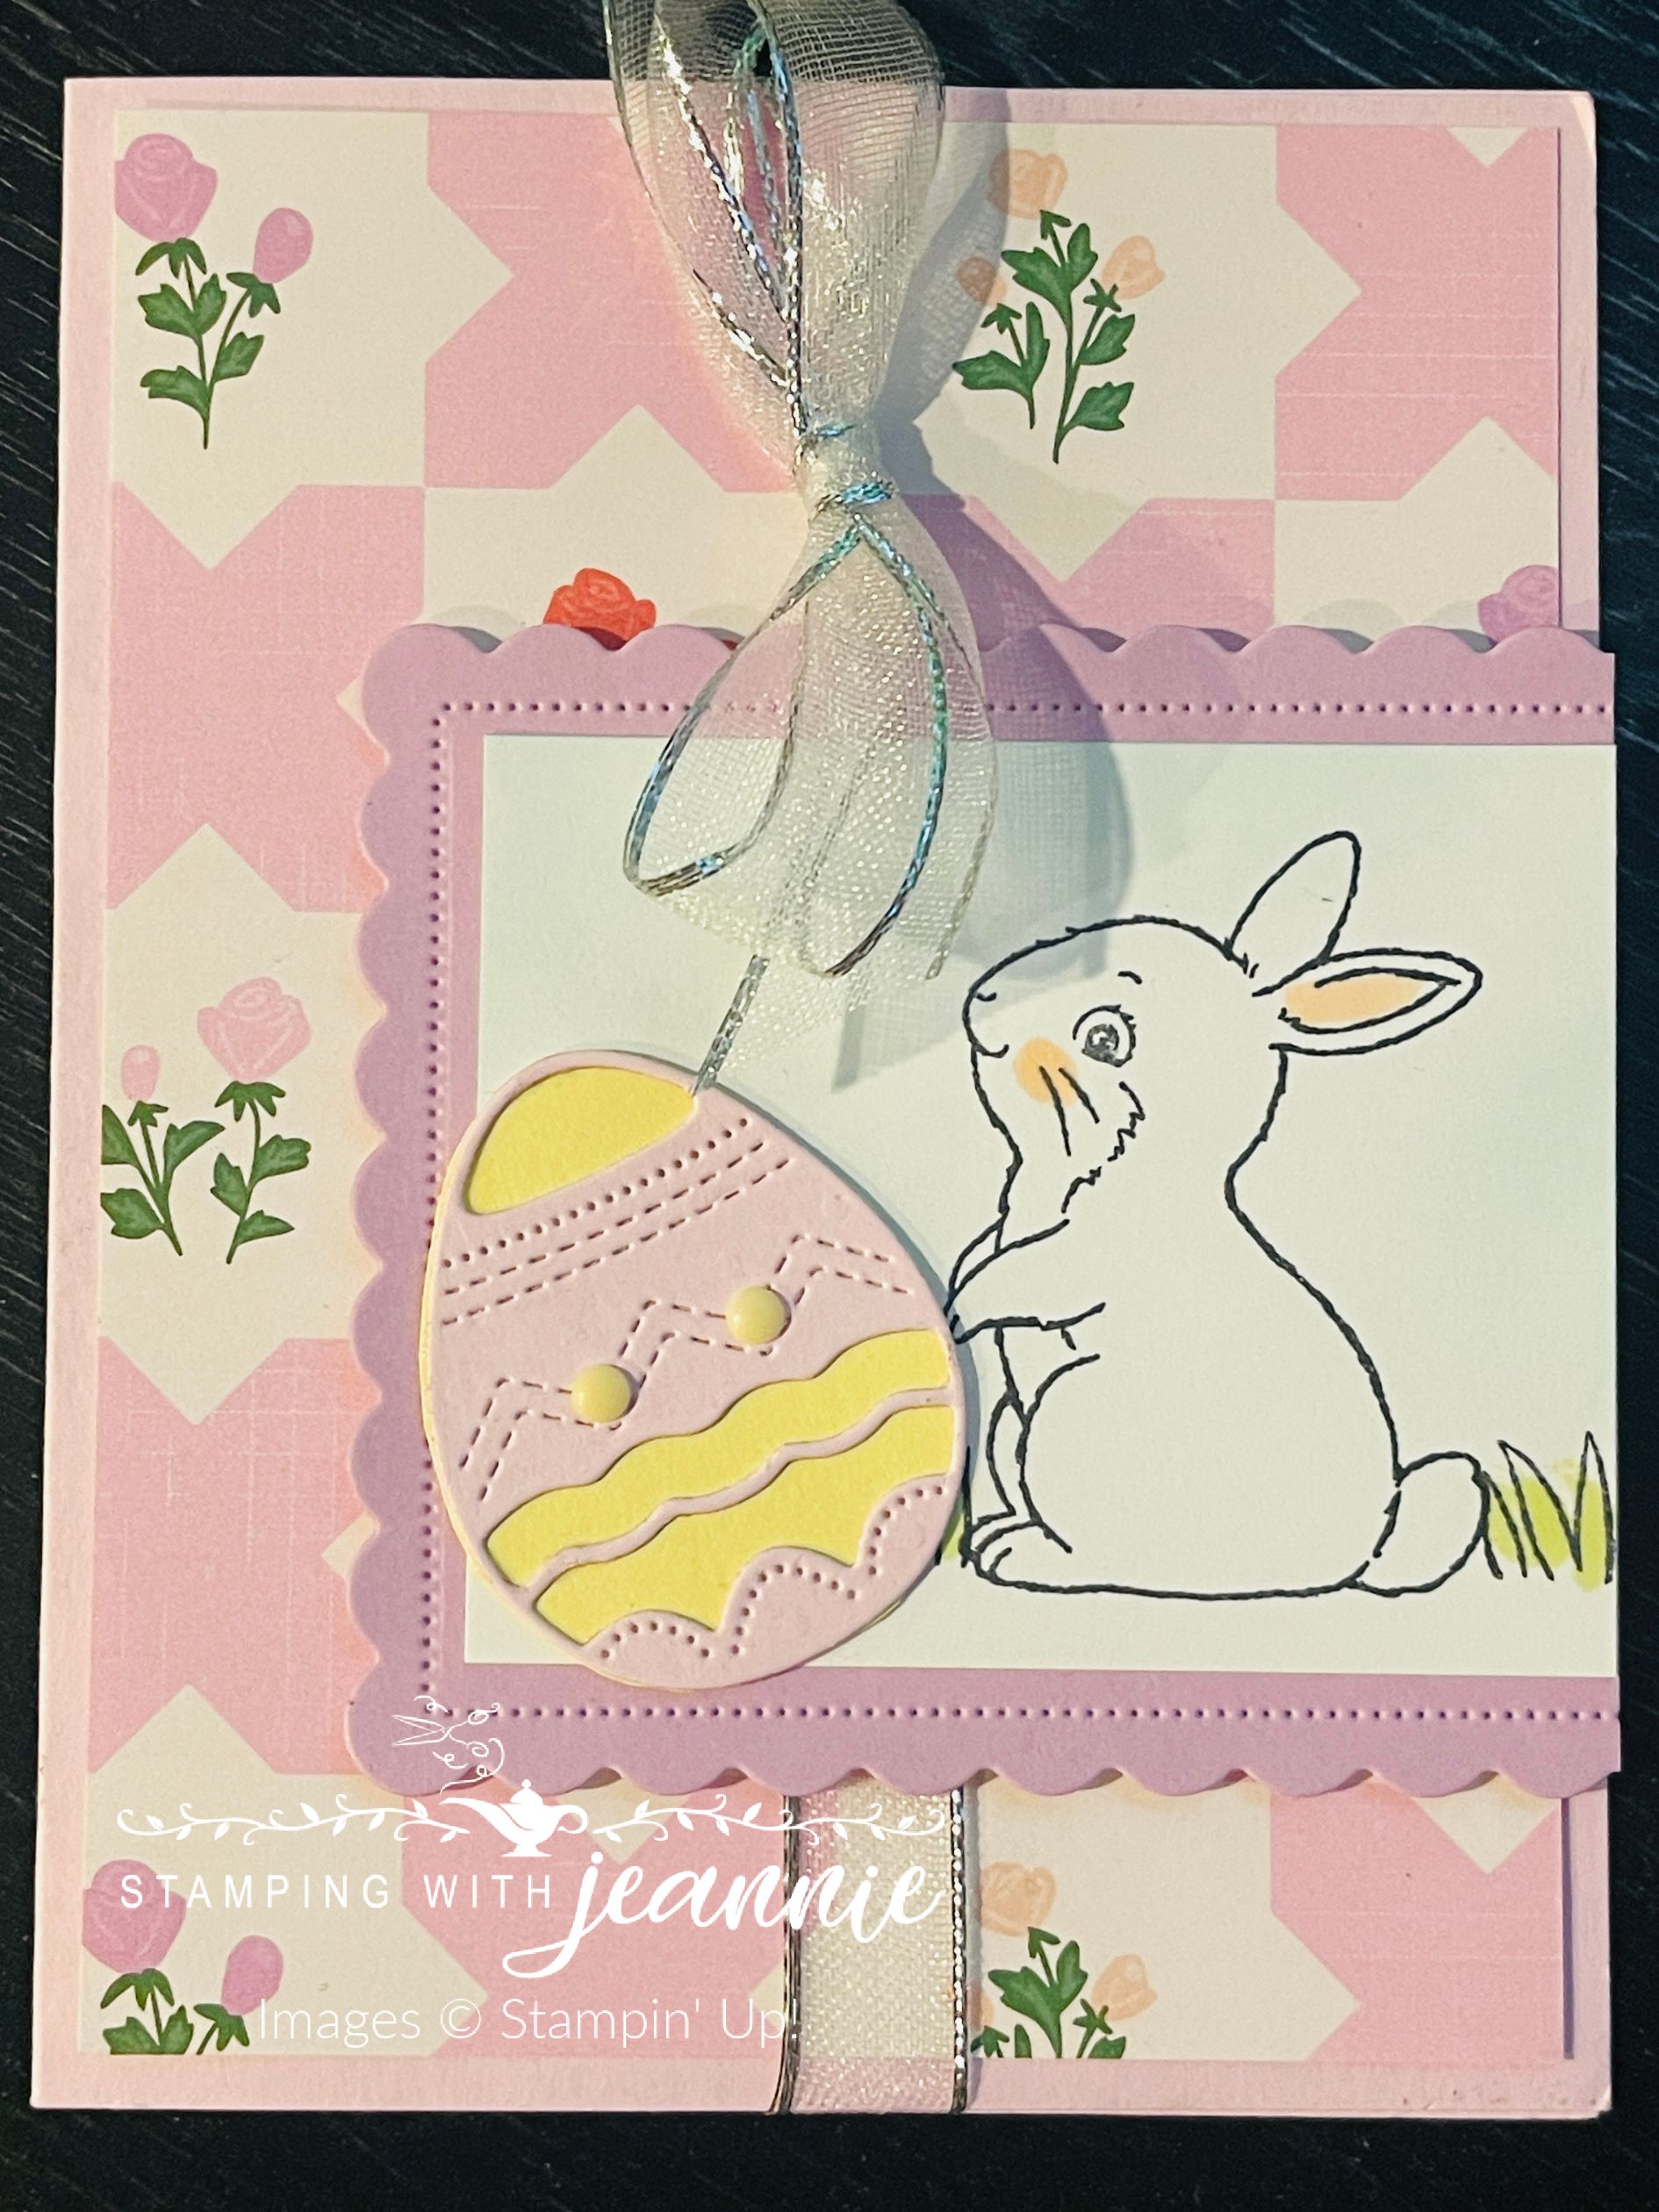
This time, I used Bubble Bath CS as my base, 5-1/2″ x 8-1/2″ scored at 4-1/4″.
The designer paper layers are both from the Delightfully Eclectic 12″ x 12″ DSP. The pink flowers are oh-so-pretty! I cut the DSP mat, 4″ x 5-1/4″. After you’ve adhered the DSP to the card base, tie a length of Sheer Silver & White 1/2″ Ribbon into a bow. Position your bow near the top middle of your card.
I then diecut 2/3″ of the 2nd smallest Scalloped Contours dies (*to cut 2/3″, let approximately 1/3″ of the die hand off the ed of the cardstock when diecutting). I then cut a 2-1/2″ x 3-1/8″ piece of Basic White (this size may change depending on your 2/3-ish diecut is). Oh yes, the contour diecut is Fresh Freesia CS.
I stamped the Basic White CS piece with the Easter Bunny sitting-up image using Memento ink. The coloring was super-simple: a little Flirty Flamingo stampin’ blend for his ears and cheeks, and just a touch of Granny Apple Green stampin’ blend for the grass that’s stamped under/around the bunny’s feet. Not that I kind of have him sitting on the right side of the CS — I wanted to give the illusion that the bunny was pushing the Easter egg, similar to building a snowman!
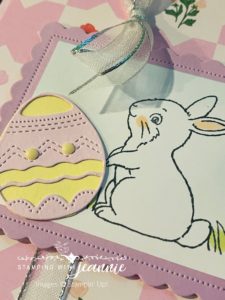
Here’s a closer view of my card:
Before stamping and coloring the bunny, I used a blending brush and some Balmy Blue ink to show a little “sky”. You could do this step after stamping the bunny too — you really don’t want a Blue Bunny (unless we’re talking ice cream LOL)!
Dicut your Easter Egg now — I dieuct the detailed egg from Bubble Bath CS, then adhered it to a scrap of Lemon Lolly CS. You’ll need to fussy-cut the egg after this step as the dies are too large (or as your egg above, too detailed). I popped up the egg and popped up the Scalloped Contour diecut with dimensionals. I almost forgot to mention the Rainbow Adhesive-Backed Dots that I added. There’s a rainbow of colors to choose from!
Inside the card is a Basic White CS layer, 4″ x 5-1/4″, stamped with the Happy Easter sentiment from the Excellent Eggs bundle. Just handwrite your sentiment or greeting inside and then you’re done!
Happy Easter!

<div><div><div id="ae55d1b9-0ca0-4d31-b108-3f2fca3900c5"><iframe class="iframe-showcase" src="https://mystampinblog.com/Showcase/Details/c0bdf7ba-4edd-463f-b0fd-fd0d4df038ce?layout=Tiled&showSku=True&showPrice=True&showSalePrice=True&showAddToCart=False&showAddAllToCart=True&showDownload=True&transparent=False&bordered=True&hFontHeight=14&rFontHeight=13&imageHeight=120&middleContent=False" frameborder="0" scrolling="no" allowtransparency="true" loading="lazy" style="width:100%"></iframe></div><script src="https://my
stampinblog.com/Script/ShowcaseDetailsScript"></script></div></div>