This was not one of the first bundles that I purchased when the Mini Catalog went live in January. Why?! I’m really not sure, because it certainly caught my eye right off the bat! Check out the stamp set! It’s full of inspirational sentiments! I even love the matching dies: a lantern and “cute” fireflies.

I think that the fireflies remind me of my youth. When I was growing up, I remember attending church or church events in the evenings. My parents would gather after church to talk with other adults, and the kids would run around the property on summer evenings, chasing fireflies! It brings a smile to my face even now! Where I live now, I rarely (have I ever?!) see fireflies. I’ve returned to my parents’ house in recent years. They live in rural Upstate New York, and I remember seeing a couple of fireflies dancing under the trees on summer evenings. It again immediately reminds me of my youth! Simpler times for sure!
I immediately knew that I wanted to create a light-up card: an easel card with a battery-operated tea light candle behind it. The card was intended to invoke the feelings of summer evenings: dark and shadowy like those long-ago summer evenings!

I started with a piece of Starry Sky cardstock, 4 1/4″ x 5 1/2″. Add a 4″ x 5 1/4″ piece of Enjoy the Journey DSP in landscape position (yes, the starry sky pattern is available in this paper pack!). Diecut a silver lantern from the specialty silver cardstock pack using the color that I call gunmetal: it is kind of a dark gray color. Place the diecut lantern, sort of in the center of the scene, lined up with the bottom edge of the designer paper. You are going to trace through the lantern “window” so you know where to diecut. I made small pencil tic marks at the top and bottom, left and right inside sides of the lantern. Now, with the smallest Stylish Shapes square, center the square around these pencil marks and diecut the square out of the paper. You’re not done yet though.
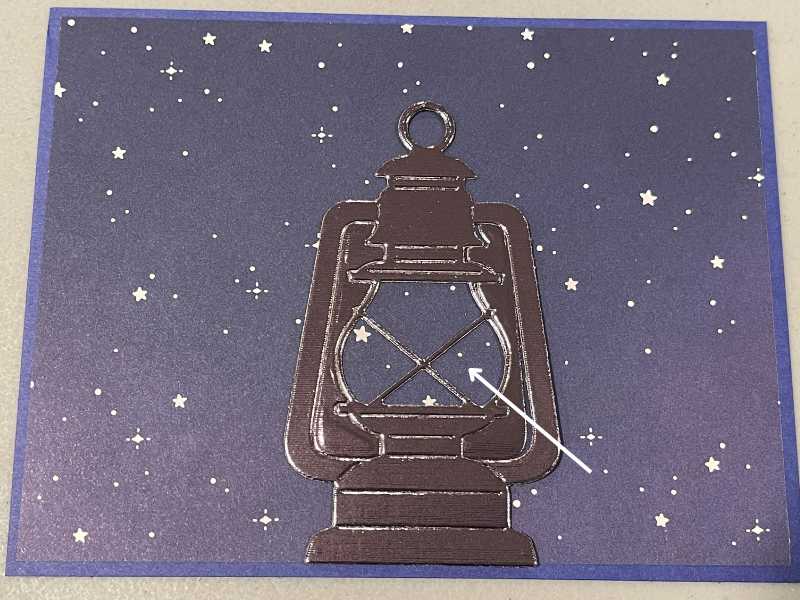
Next, cut a 5 1/2″ x 8 1/2″ piece of Starry Sky cardstock, scored at 4 1/4″ and 2 1/8″ on the long side (both are mountain folds). This will be your card base that forms the easel. Line up the cardstock with designer paper layer from above and trace through the diecut square “window” to the card base. Again, the card is still laying in landscape position, meaning the card is wide more than it is high (to simplify things!). Diecut the square out of the card base now. You can get rid of both of the diecut squares – the important part is cutting out a window. Cut a square of vellum, about 1 1/2″ x 1″ . Stamp the “light” image (it’s a round blob) in Daffodil Delight ink, then adhere the vellum behind the cardstock/DSP layer piece – add glue dots to attach in the 4 corners. You are NOW ready to attach this layer to the card base.

Add adhesive to the bottom of the card base, between the 2 1/8″ and 4 1/4″ score lines, then lay the cardstock/DSP layer on top. Your windows HOPEFULLY line up! Phew! That’s the hardest part!
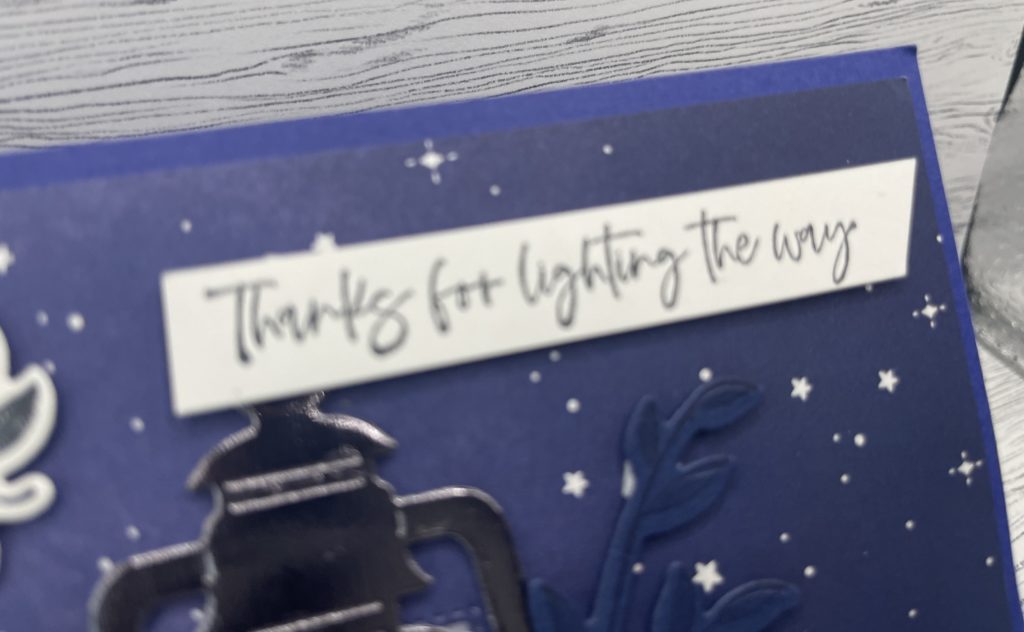
Now you can have fun decorating your card. Pop up the lantern with mini dimensionals. Stamp 2 large fireflies on a scrap of Basic White c/s, then diecut with the Lighting the Way coordinating die. Use a Daffodil Delight Stampin’ Blend to color in your tails. Stamp the 3 leaf images in Night of Navy ink onto a scrap of Night of Navy cardstock, then diecut. Pop up these leaves around the adhered lantern. Pop up the fireflies. The last step is to stamp a scrap of Basic White cardstock, 1/2″ x 3 1/2″. Stamp the long sentiment in Night of Navy ink, angle the right end and attach to the top of the card.
I still decorated the inside of the card too — this is an easel card after all! Add a strip of DSP, 1/2″ x 5 1/4″ to the bottom inside of the card. (I used one of the Regency Park DSP pieces but you can also use more of the Enjoy the Journey DSP. Adhere it about 1/2″ from the bottom edge of the card. Stamp a Something Fancy diecut label with the sentiment in Night of Navy ink, then pop it up in the center inside. This will hold your card in the easel position. At the top, you’ll want a 2 1/2″ x 5 1/4″ piece of Basic White c/s so you can write your greeting inside!

Prop your easel card inside and slide in a small battery-operated tea light candle. I’d love the real thing, but after all the work you just did, it would be a shame to burn your card LOL! That’s it! Either enjoy the card yourself, or send it to someone special to light up their day … or do both!
Stamping hugs from “the lamp”,
Jeannie
<div><div><div id="0d95329a-2e3a-4c45-bc8d-01ea285fd63a"><iframe class="iframe-showcase" src="https://mystampinblog.com/Showcase/Details/b1ab7d76-846d-4a3c-bff9-9ebaea43437f?layout=Tiled&showSku=True&showPrice=True&showSalePrice=True&showAddToCart=False&showAddAllToCart=True&showDownload=True&transparent=False&bordered=True&hFontHeight=14&rFontHeight=13&imageHeight=120&middleContent=False" frameborder="0" scrolling="no" allowtransparency="true" loading="lazy" style="width:100%"></iframe></div><script src="https://mystampinblog.com/Script/ShowcaseDetailsScript"></script></div></div>